Google - setting up social authorization
Google - setting authorization through Google services
Beforehand it is required to set up a plug-in. Manager of extensions => Manager of plug-ins => group of plug-ins "slogin_auth" => plug-in "Social Login Google auth".
Go here and create new project. Enter it's name and click "API Access" on the next page. Hit the "Create an OAuth2 client ID" button, enter name (can be the same as project) and choose "Web application" as type. Now click on "More options" link, enter your site URL and put http://mysite/?option=com_slogin&task=check&plugin=google as Callback URI. Now get Client ID and Client Secret and enter them in corresponding fields in component settings. Save settings and enable Google login.
We create the google application.
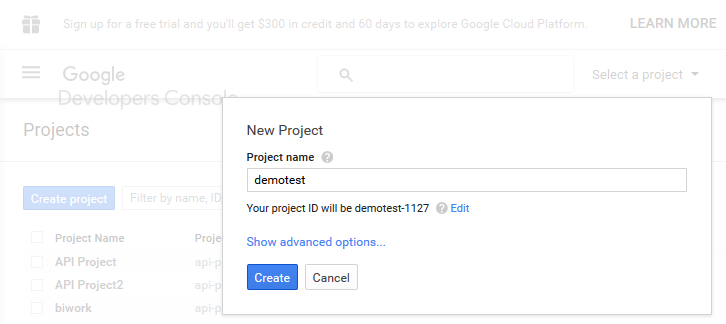
Configure google app.
We go through the menu the name of the application => APIs & auth => credential
Create a new Client ID:
To do this, select oAuth 2.0 client ID and Web application in it.
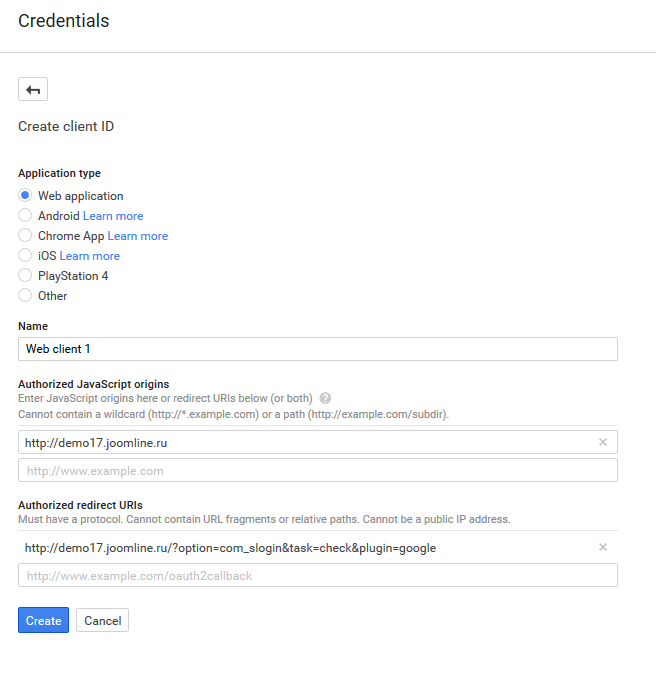
It gets a picture like this:

We get client_id (Client ID) and secret_key (Client Secret).
Attention!!! make sure the backlink (Redirect URIs) is:
http://mysite /?option=com_slogin&task=check&plugin=google
Set the product name and email:
In the tab: "OAuth consent screen"
Fill in "Product name"
Select your email in the "Email address" field.